Expo BarCodeScanner

A frontend developer having passion for designs, first-principles and problem-solving
In this post, we will learn how to use Expo's BarCodeScanner library from scratch. We will then be able to scan the QR code or barcode, view the information contained in it, and send an API request the moment something gets scanned. So let's get started right away.
First, let's create a blank Expo project. with npx create-expo-app app-name. You can specifically choose the typescript template if you want with -
npx create-expo-app --template to see the list of available templates.
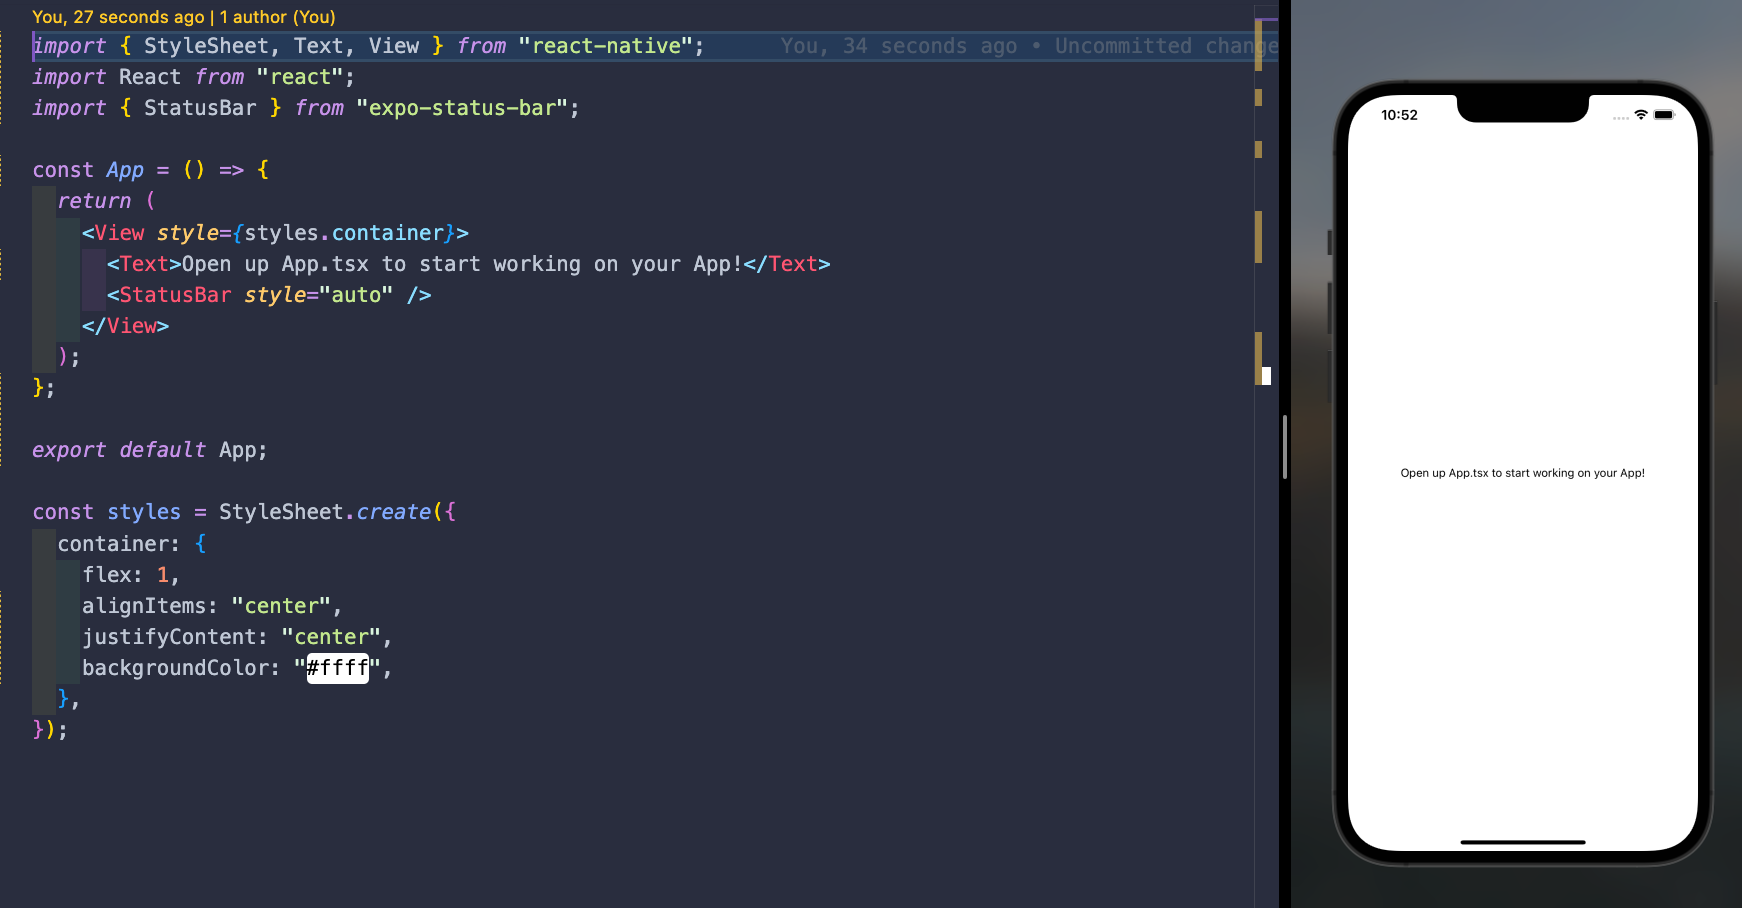
Now, we have the basic boilerplate code that we get when we first start the project with npx expo start. I have chosen the typescript template, so that's why you will notice the App.tsx extension. It should look something like this.
Now we install the library using npx expo install expo-barcode-scanner. BarCodeScanner Official Documentation.
Let's first get camera permissions.
import { BarCodeScanner } from "expo-barcode-scanner";
import { useEffect, useState } from "react";
import { StyleSheet, Text, View } from "react-native";

export default function App() {

const [hasPermission, setHasPermission] = useState<null | boolean>(null);

const askCameraPermission = async () => {
    const { status } = await BarCodeScanner.requestPermissionsAsync();
    console.log(status)
    if (status === "granted") {
      setHasPermission(true);
    }
  };

useEffect(() => {
    askCameraPermission();
  }, []);


  return (
    <View style={styles.container}>
      <Text>Open up App.tsx to start working on your app!</Text>
    </View>
  );
}

const styles = StyleSheet.create({
  container: {
    flex: 1,
    backgroundColor: "#fff",
    alignItems: "center",
    justifyContent: "center",
  },
});
We initialised a state with a
useStatehook namedhasPermissionwith its initial value as null.We declare the
askCameraPermissionasynchronous function and in there1. The
requestPermissionsAsync() method on theBarCodeScannerobject returns a promise. By using the await keyword, we tell JavaScript not to move to the next line of code until this promise has been resolved. The promise resolves when the status variable has a value. Thestatusvariable can either be “granted” or “denied”.2. If the status is granted, then set the value of the
hasPermissionstate to true.We call the r
equestPermissionsAsync()function inside the useEffect hook to ensure that the function is called/executed only when the component mounts or renders for the first time, and we do this by mentioning the empty dependency array[ ]
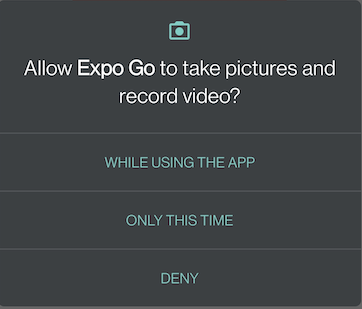
The above modal will be displayed to request the user's permission to access the camera. If we choose to grant permission, then const status = "granted".But, if we choose to deny permission, the status will be "denied". To experiment, try removing camera access permission in the Expo Go app's settings to see the "denied" status in the console.
Once you grant permission to access the camera, this modal will not appear again even if you reload the app. This is because the status will automatically resolve to "granted".
The actual component and what should happen when we scan something.
import { BarCodeScanner } from "expo-barcode-scanner";
import { useEffect, useState } from "react";
import { Dimensions, StyleSheet, Text, View } from "react-native";
export default function App() {
  const [hasPermission, setHasPermission] = useState<null | boolean>(null);
  const askCameraPermission = async () => {
Expo BarCodeScanner 4
const { status } = await BarCodeScanner.requestPermissionsAsync();
    if (status === "granted") {
      setHasPermission(true);
    }
};
  const handleAfterScanned = ({ data, type }: any) => {
    console.log(data);
};
  useEffect(() => {
    askCameraPermission();
}, []);
  return (
    <View style={styles.container}>
      <BarCodeScanner
        onBarCodeScanned={handleAfterScanned}
        style={styles.Scanner}
/>
      <Text>Open up App.tsx to start working on your app!</Text>
    </View>
); }
const styles = StyleSheet.create({
  container: {
    flex: 1,
    backgroundColor: "#fff",
    alignItems: "center",
    justifyContent: "center",
}, Scanner: {
    width: "70%",
    height: "50%",
    backgroundColor: "black",
}, });
In the onBarCodeScanned prop we pass the handleAfterScanned function, which is called when a barcode is successfully scanned. For the time being, we simply log what data is being scanned to the console. For testing purposes, you can generate a QR code by visiting the website https://www.the-qrcode-generator.com/.

⚠️ The scanned text will be logged to the terminal as we scan the QR code. But as we are directing the camera at the QR code, you will observe that the scanned text is continuously being logged to the console. Because handleAfterScanned function is being executed as long as scanning is done. But what we want is, the scan should be done only once and even if we point the device’s camera to the QrCode then also it should not scan after one successful scan.
import axios from "axios";
import { BarCodeScanner } from "expo-barcode-scanner";
import { useEffect, useState } from "react";
import { Dimensions, StyleSheet, Text, View } from "react-native";
export default function App() {
  const [hasPermission, setHasPermission] = useState<null | boolean>(null);
  const [hasScanned, setHasScanned] = useState<boolean>(false);
  const askCameraPermission = async () => {
    const { status } = await BarCodeScanner.requestPermissionsAsync();
    if (status === "granted") {
      setHasPermission(true);
    }
};
  const handleAfterScanned = ({ data, type }: any) => {
    setHasScanned(true);
    console.log(data);
};
  useEffect(() => {
    askCameraPermission();
}, []);
  return (
    <View style={styles.container}>
       <BarCodeScanner
        onBarCodeScanned={hasScanned ? undefined : handleAfterScanned}
        style={styles.Scanner} />
        <Text>Open up App.tsx to start working on your app!</Text>
    </View>
); }
const styles = StyleSheet.create({
  container: {
    flex: 1,
    backgroundColor: "#fff",
    alignItems: "center",
    justifyContent: "center",
}, Scanner: {
    width: "70%",
    height: "50%",
    backgroundColor: "black",
}, });
onBarCodeScanned={hasScanned ? undefined : handleAfterScanned}
To do this, we add a new state called hasScanned, whose initial value is false. We set the value of hasScanned to true after a scan is complete. Then if the camera picks up the QR code once more, it checks to see whether hasScanned is false before calling the handleAfterScanned function, because if it is true, the QR code has been successfully scanned.
If the QR code has been successfully scanned once, we set the value of the onBarCodeScanned prop as undefined because
Passing undefined to the prop will result in no scanning. This can be used to effectively "pause" the scanner so that it doesn't continually scan even after data has been retrieved.
{hasScanned && (
        <Button title="Scan again" onPress={() => setHasScanned(false)} />
)}
In addition, if we want to scan again, a simple button is conditionally rendered depending on the state. Only when hasScanned is true, the button is visible, implying that the button will be visible only after one successful scan.
The final code with all the necessary functionalities would be
import { BarCodeScanner } from "expo-barcode-scanner";
import { useEffect, useState } from "react";
import { Button, Dimensions, StyleSheet, Text, View } from "react-native";

export default function App() {
  const [hasPermission, setHasPermission] = useState<null | boolean>(null);
  const [hasScanned, setHasScanned] = useState<boolean>(false);
  const [scannedText, setScannedText] = useState<string>("Not yet Scanned");

  const askCameraPermission = async () => {
    const { status } = await BarCodeScanner.requestPermissionsAsync();
    if (status === "granted") {
      setHasPermission(true);
    } else {
      setHasPermission(false);
    }
  };

  const handleAfterScanned = ({ data, type }: any) => {
    setHasScanned(true);
    console.log(data);
    setScannedText(data);
  };

  useEffect(() => {
    askCameraPermission();
  }, []);

  if (hasPermission === false) {
    return (
      <View style={styles.container}>
        <Text style={{ fontSize: 30 }}>Permission denied</Text>
        <Button title="Allow Camera" onPress={askCameraPermission} />
      </View>
    );
  }
  if (hasPermission === null) {
    return (
      <View style={styles.container}>
        <Text style={{ fontSize: 30 }}>Requesting camera Permission</Text>
      </View>
    );
  }

  return (
    <View style={styles.container}>
      <BarCodeScanner
        onBarCodeScanned={hasScanned ? undefined : handleAfterScanned}
        style={styles.Scanner}
      />
      {hasScanned && (
        <Button title="Scan again" onPress={() => setHasScanned(false)} />
      )}
      <Text style={{ fontSize: 30 }}>{scannedText}</Text>
    </View>
  );
}

const styles = StyleSheet.create({
  container: {
    flex: 1,
    backgroundColor: "#fff",
    alignItems: "center",
    justifyContent: "center",
  },
  Scanner: {
    width: "70%",
    height: "50%",
    backgroundColor: "black",
  },
});
Depending on the state of the camera permission, we rendered different screens. Also, for better understanding, the scanned text was saved in the scannedText state. If we want to call an API when something is scanned, we can do the following:
const handleAfterScanned = ({ data, type }: any) => {
    setHasScanned(true);
    setScannedText(data);
data &&
    fetch("the api to  which you wish to send a GET/POST request")
      .then((response) => {
        // ....
      })
      .catch((error) => {
        // .... });
};

